普通下载
普通下载
VRay插件是用在3ds Max平台上一个超级强大的高级渲染器。我认识的许多3ds Max爱好者都对VRay高级渲染插件相当热衷,据说它的高级渲图功能非常强大。不过本人不玩3ds Max,故关于VRay1.5汉化版的一些具体的功能介绍,还是请大家自己上网查询。
说明:本文以vray1.5 for 3dsmax2009/32位英文版为例记录其安装过程,Vray1.5 for 3dmax(2009-2011)版本安装方法是一样的。
安装步骤:
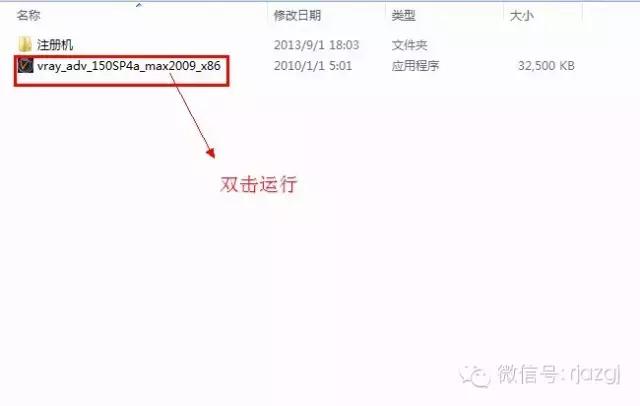
1、安装vray1.5-sp4 3dsmax2009 32位英文版
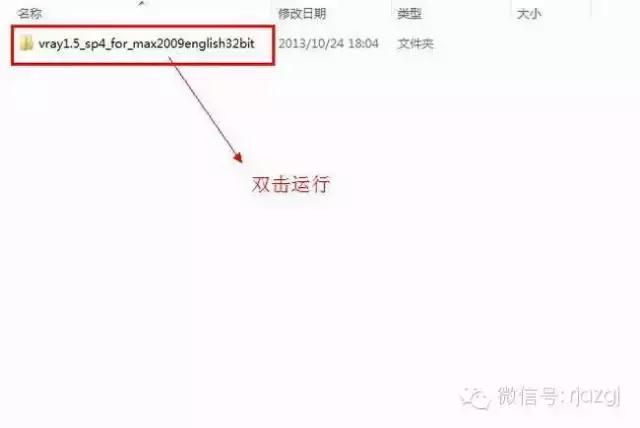
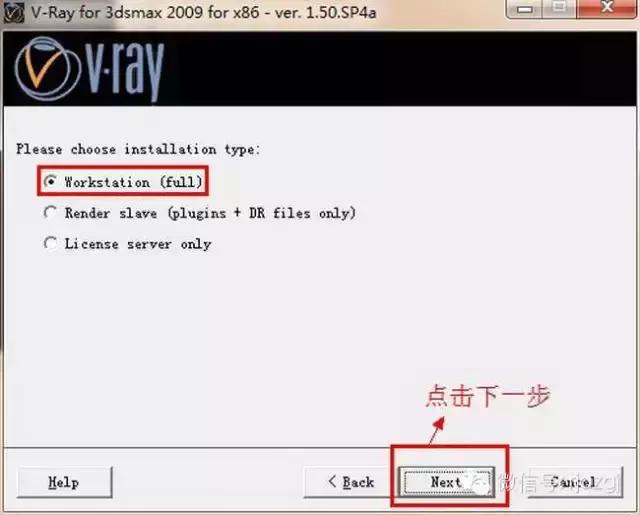
2、双击运行vray1.5-sp4 3dsmax2009 32位英文版
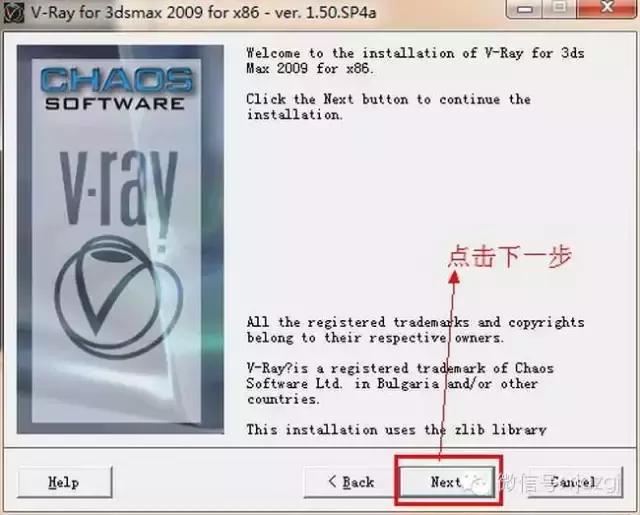
3、点击next下一步
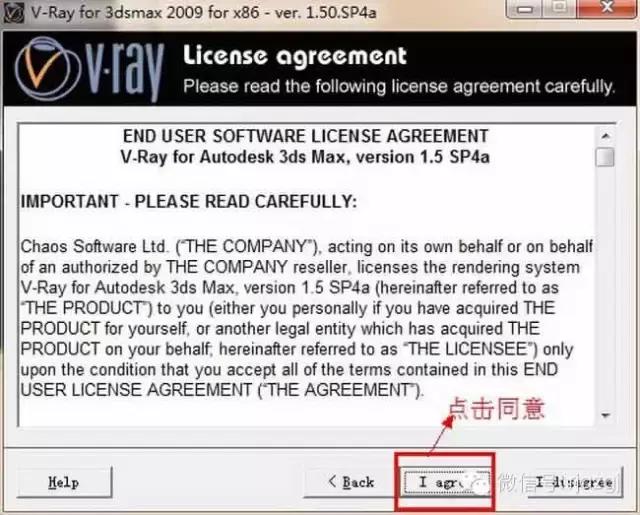
4、点击I agree同意
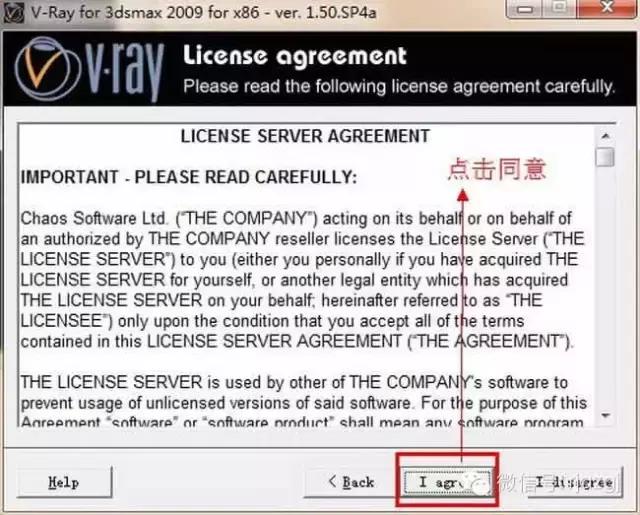
5、 点击I agree同意
6、点击next下一步
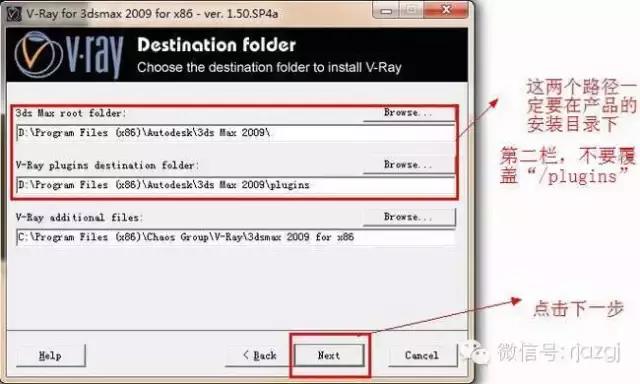
7、点击next下一步最上面的两个安装路径我们要特别注意,一定要在max的安装目录里,而且在复 制粘贴max安装目录时第二个栏里的路径保留“plugins”,也就是说复制到 “plugins”的前面,不要覆盖“plugins”。点击next继续下一步
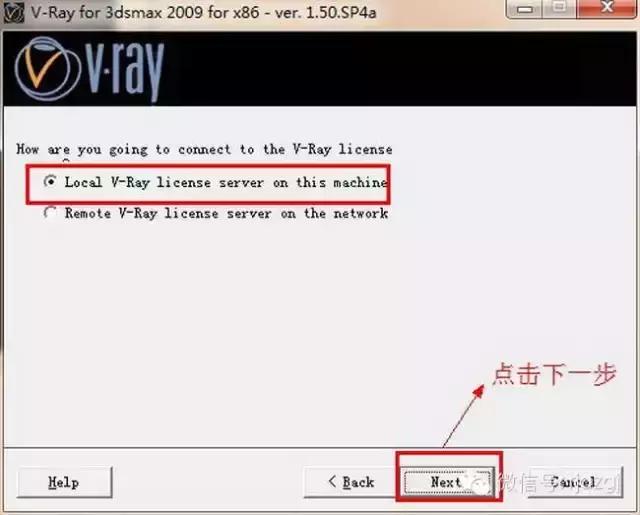
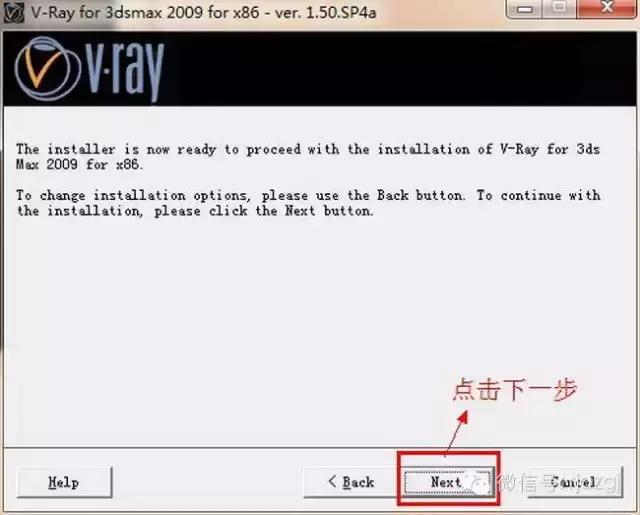
8、点击next下一步
9、取消勾选 Install WIBU key drivers
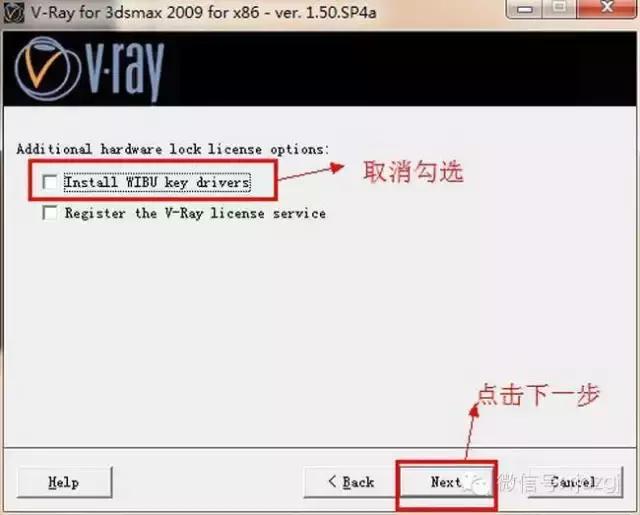
10、点击next下一步
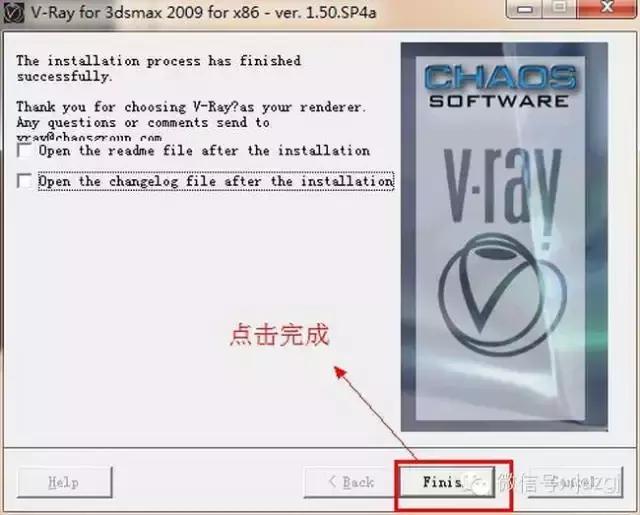
11、取消勾选“open the changelog file after the installation”。vray1.5 -sp4安装完成,点击finish

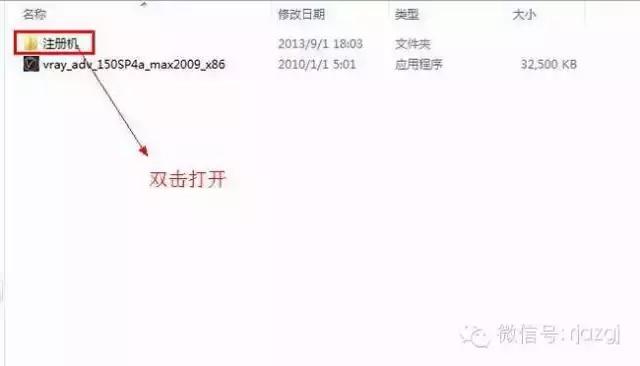
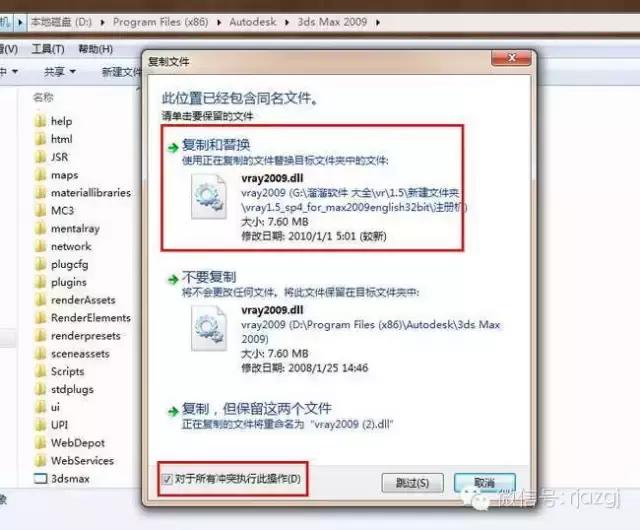
12、返回到vray1.5 sp4的安装包,双击打开注册机文件夹
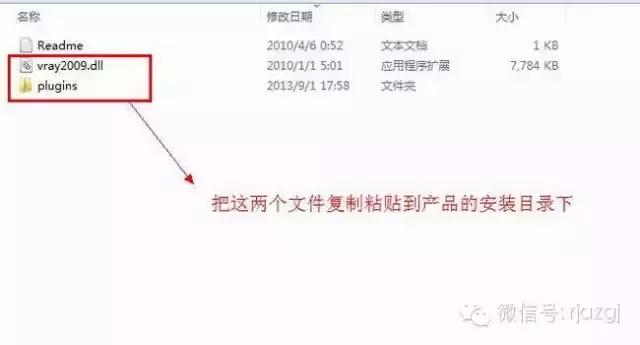
13、复制粘贴文件vray2009.dll和plugins到3dsmax2009的安装目录
14、复制粘贴破解文件到3dsmax2009的安装目录里
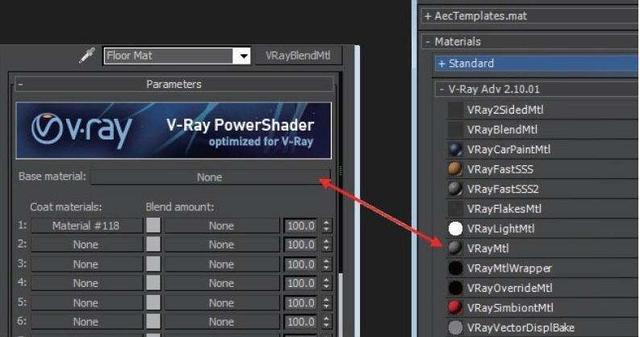
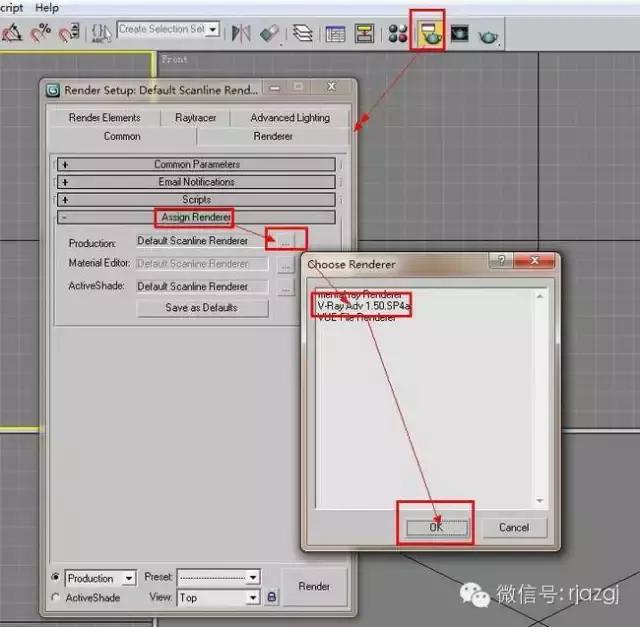
15、运行3dsmax2009 ,按F10弹出渲染设置面板:Assign Renderer-choose renderer-vray adv 1.5,sp4a-ok
16、vray1.5-sp4成功安装完成
17、VRAY1.5安装成功
说明:本文以vray1.5 for 3dsmax2009/32位英文版为例记录其安装过程,Vray1.5 for 3dmax(2009-2011)版本安装方法是一样的。
安装步骤:
1、安装vray1.5-sp4 3dsmax2009 32位英文版
2、双击运行vray1.5-sp4 3dsmax2009 32位英文版
3、点击next下一步
4、点击I agree同意
5、 点击I agree同意
6、点击next下一步
7、点击next下一步最上面的两个安装路径我们要特别注意,一定要在max的安装目录里,而且在复 制粘贴max安装目录时第二个栏里的路径保留“plugins”,也就是说复制到 “plugins”的前面,不要覆盖“plugins”。点击next继续下一步
8、点击next下一步
9、取消勾选 Install WIBU key drivers
10、点击next下一步
11、取消勾选“open the changelog file after the installation”。vray1.5 -sp4安装完成,点击finish
12、返回到vray1.5 sp4的安装包,双击打开注册机文件夹
13、复制粘贴文件vray2009.dll和plugins到3dsmax2009的安装目录
14、复制粘贴破解文件到3dsmax2009的安装目录里
15、运行3dsmax2009 ,按F10弹出渲染设置面板:Assign Renderer-choose renderer-vray adv 1.5,sp4a-ok
16、vray1.5-sp4成功安装完成
17、VRAY1.5安装成功
下载地址
提取码:mxev
有问题?点击报错+投诉+提问