普通下载
普通下载
天正T20是利用AutoCAD图形平台开发的最新一代建筑软件,天正T20使用了全新的软件架构、全新的数据底层、全新的UI用户交互界面,软件还提供了丰富的建筑工具箱,让用户更加方便轻松的对设计好的dwg图像进行二次加工,从而设计出符合建筑行业的图纸。
安装步骤:
天正建筑、电气、暖通、给排水安装方法一样,下面以天正建筑为例书写安装教程,其它系列软件可参考此安装步骤.
说明:
32位系统支持cad2007-2016
64位系统支持cad2010-2016
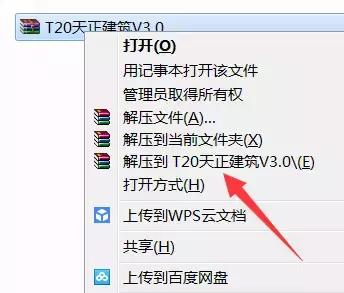
1.右击软件压缩包,解压到T20天正建筑V3.0。
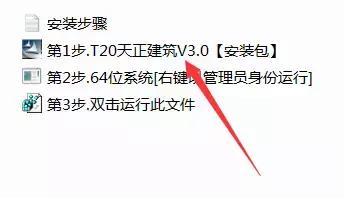
2.鼠标双击打开天正建筑V3.0安装包。
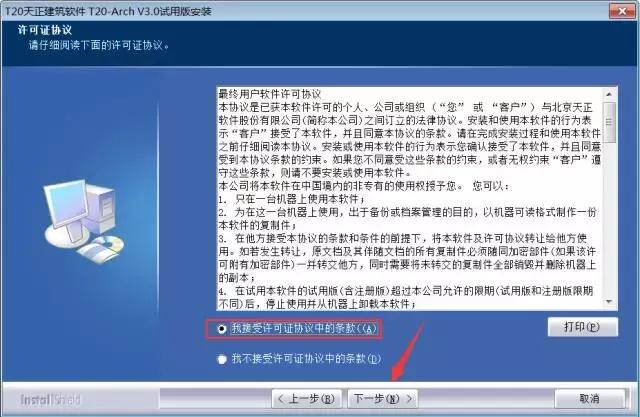
3.选择我接受许可证协议中的条款,然后点击下一步。
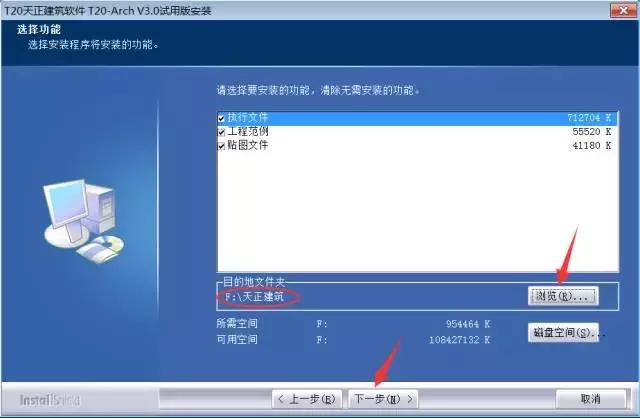
4.点击浏览更改软件安装路径:建议安装到除C盘以外的磁盘,可在D盘或其它盘里面新建一个文件夹天正建筑。然后点击下一步。
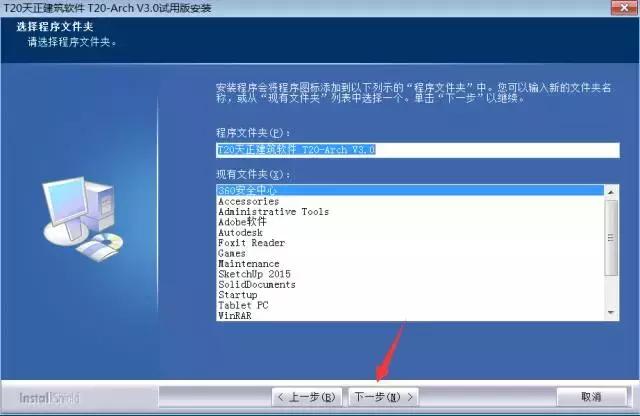
5.点击下一步。
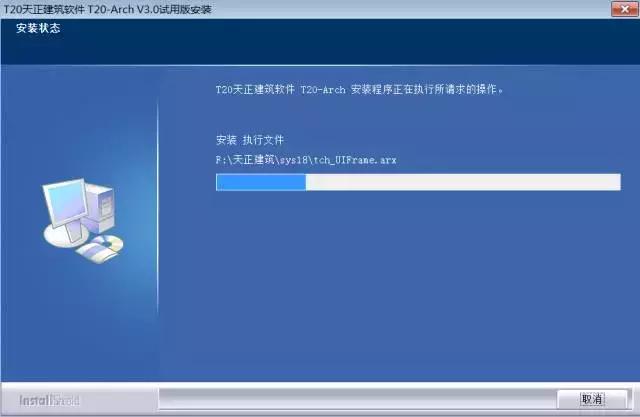
6.安装进行中
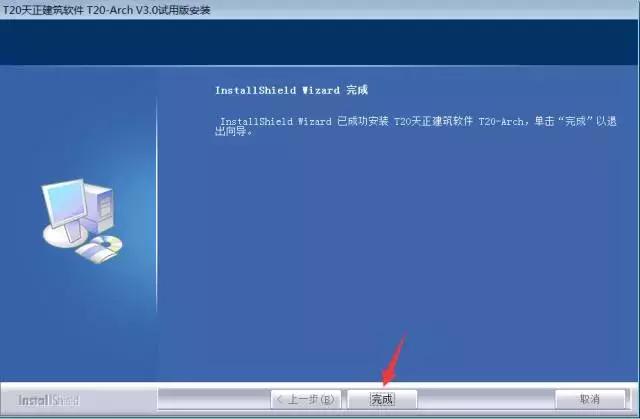
7.点击完成。
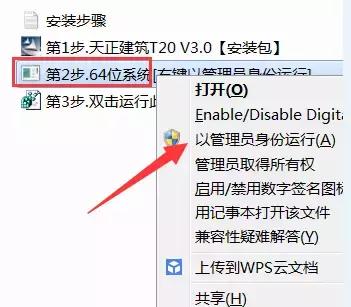
8.鼠标右击第2步选择以管理员身份运行,然后点击确定。
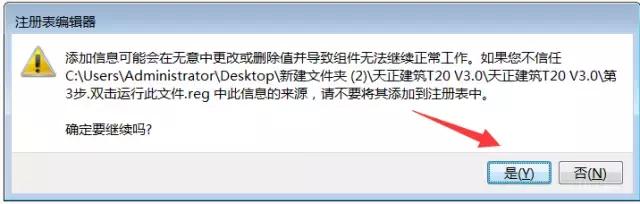
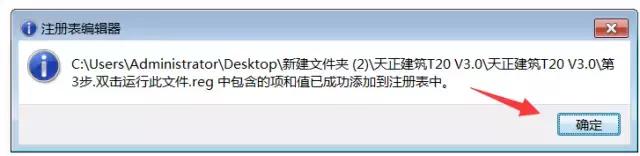
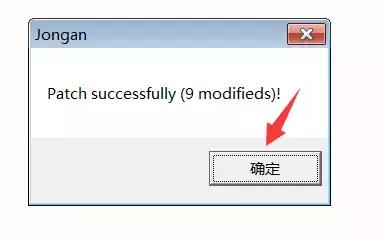
9.双击打开第3步中的文件,点击是后再点击确定。

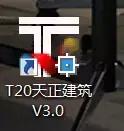
10.在电脑桌面上找到天正软件图标后双击打开。
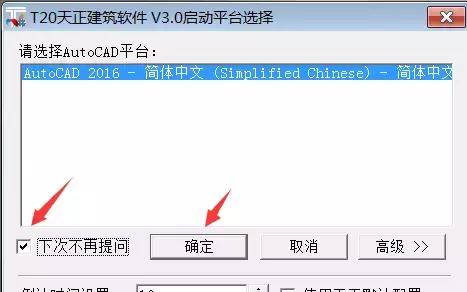
11. 把下次不再提问前面打勾后,点击确定。
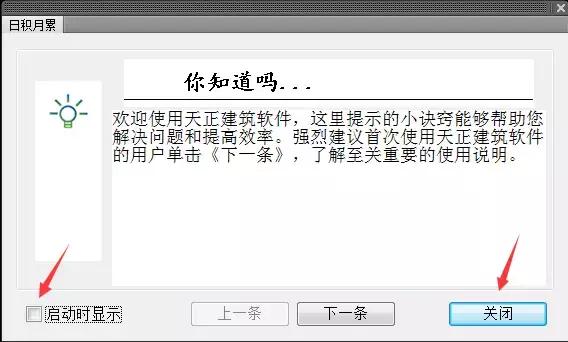
12.把启动时显示前面的勾去掉后,点击关闭。
13.安装完成。
安装步骤:
天正建筑、电气、暖通、给排水安装方法一样,下面以天正建筑为例书写安装教程,其它系列软件可参考此安装步骤.
说明:
32位系统支持cad2007-2016
64位系统支持cad2010-2016
1.右击软件压缩包,解压到T20天正建筑V3.0。
2.鼠标双击打开天正建筑V3.0安装包。
3.选择我接受许可证协议中的条款,然后点击下一步。
4.点击浏览更改软件安装路径:建议安装到除C盘以外的磁盘,可在D盘或其它盘里面新建一个文件夹天正建筑。然后点击下一步。
5.点击下一步。
6.安装进行中
7.点击完成。
8.鼠标右击第2步选择以管理员身份运行,然后点击确定。
9.双击打开第3步中的文件,点击是后再点击确定。
10.在电脑桌面上找到天正软件图标后双击打开。
11. 把下次不再提问前面打勾后,点击确定。
12.把启动时显示前面的勾去掉后,点击关闭。
13.安装完成。