普通下载
普通下载
proteus是一款全球知名的EDA工具。proteus将电路仿真软件、PCB设计软件和虚拟模型仿真软件结合成专业的电子设计平台,主要用于各种电器、电子原件的设计与开发。该软件能支持8051、HC11、PIC10/12/16/18/24/30/DsPIC33处理器的使用,在编译方面能支持AR、keil和matlab等多种编译器。
安装步骤:
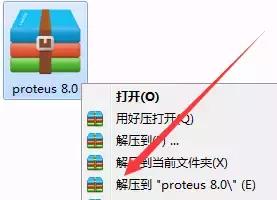
1、右击软件压缩选择解压到“Proteus 8.0”。
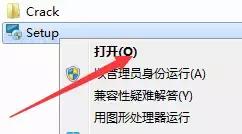
2、在解压文件夹中找到Setup,右击打开。
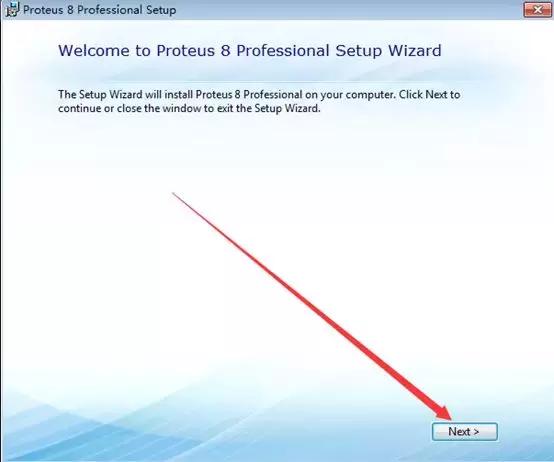
3、点击Next。
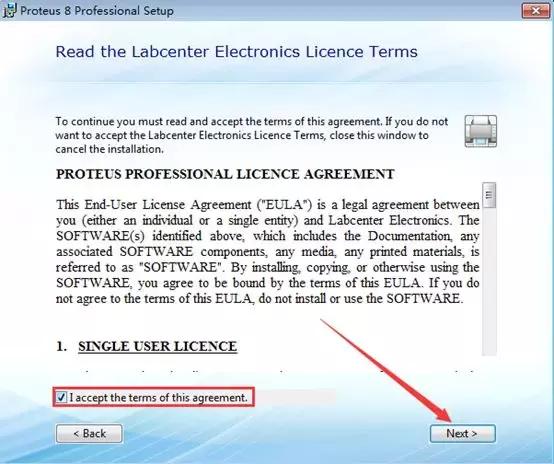
4、勾选I accept theterms of this agreement,然后点击Next。
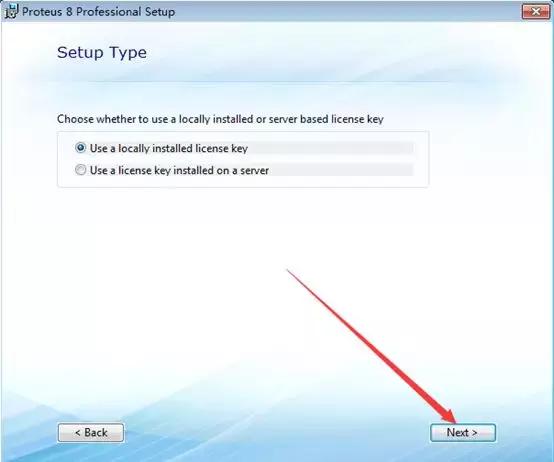
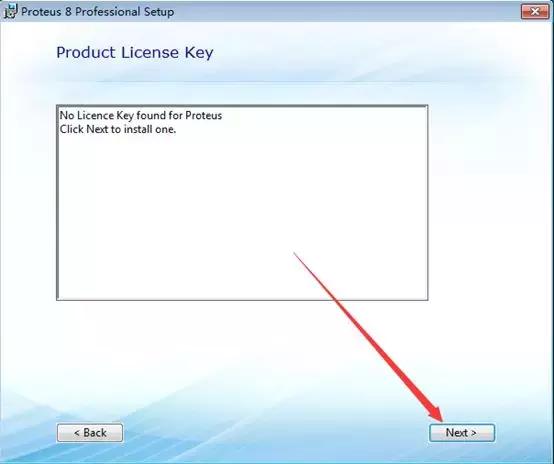
5、点击Next。
6、点击Next。
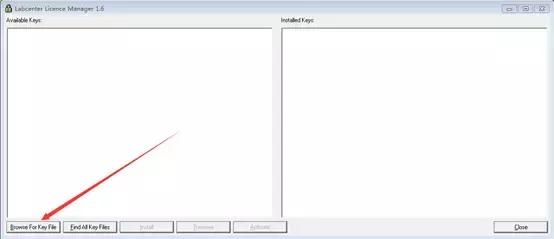
7、点击“BrowseFor Key File”。
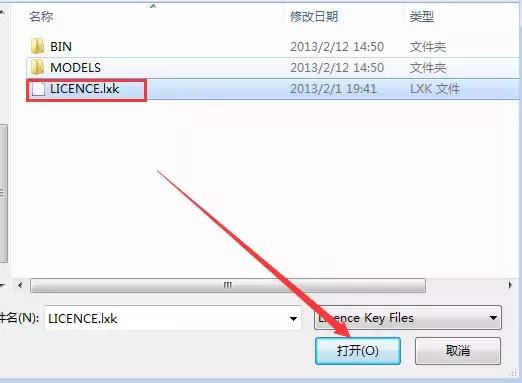
8、在弹出的界面中找到解压包下的Crack目录下的LICENCE.lxk点击打开。
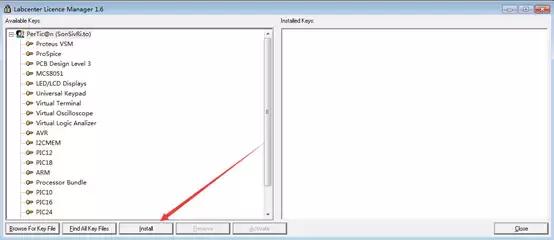
9、点击Install。
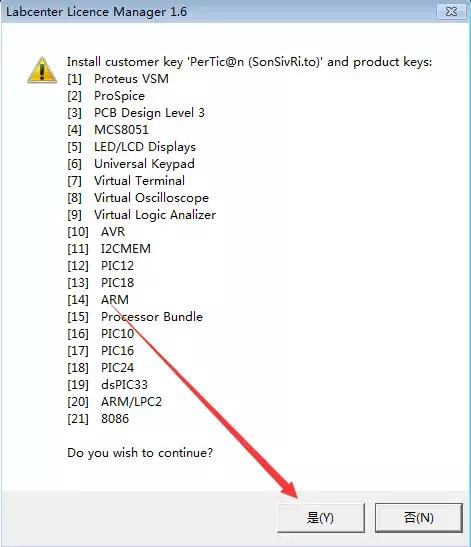
10、点击是。
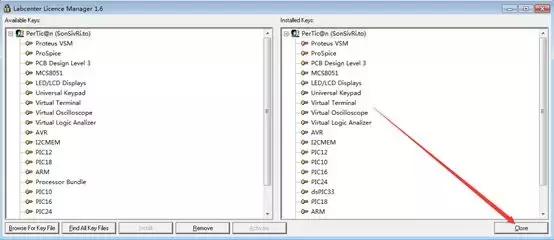
11、点击Close。
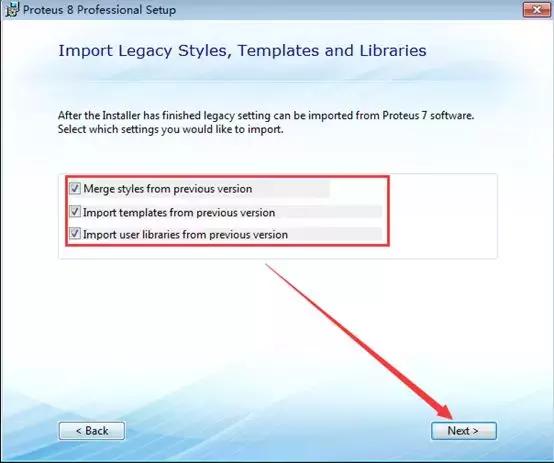
12、全部勾选后点击Next。
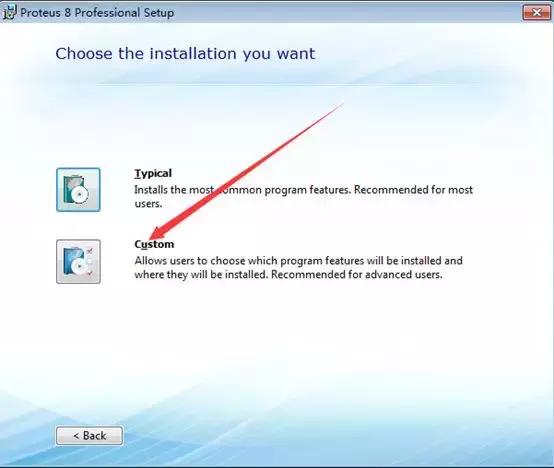
13、点击Custom。
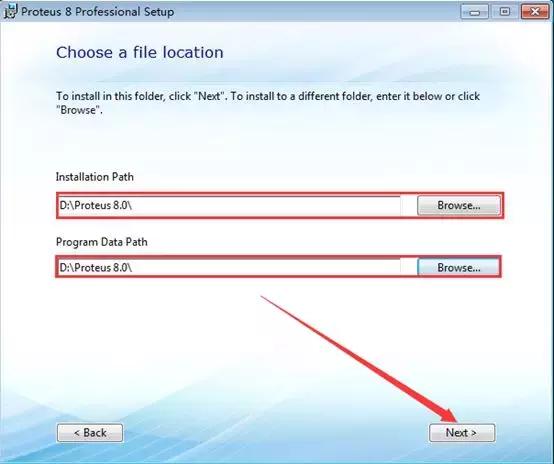
14、点击InstallationPath和Program Data Path下的Browse更改安装路径,建议安装到除C盘以外的磁盘,可在D盘或者其它盘新建一个Proteus 8.0文件夹。然后点击Next。
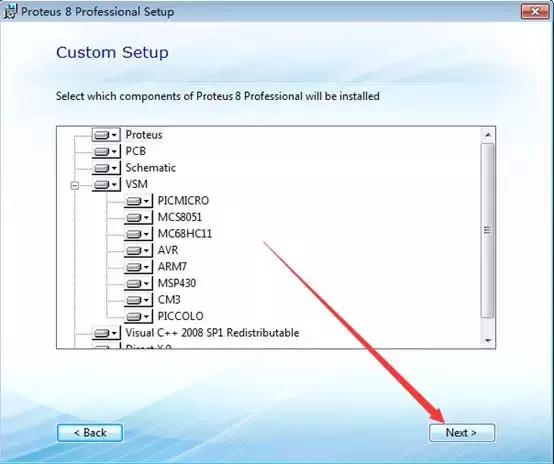
15、点击Next。
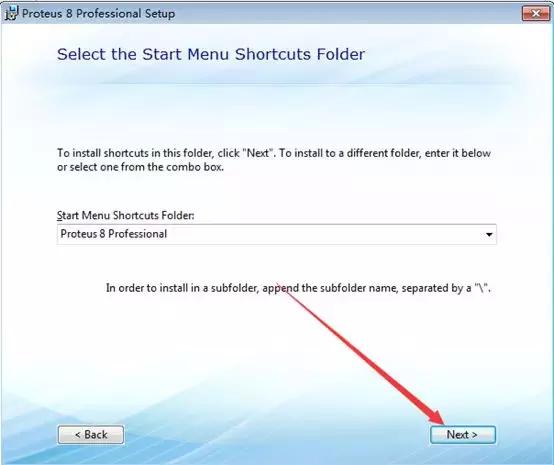
16、点击Next。
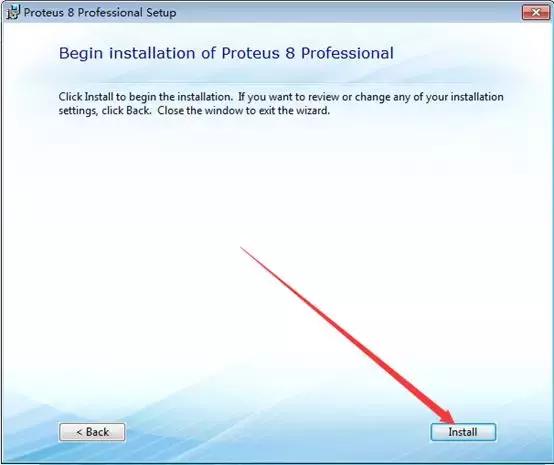
17、点击Install。
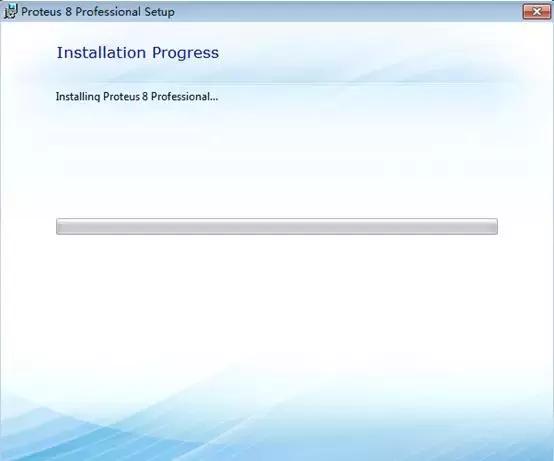
18、安装中(等待10分钟左右)。
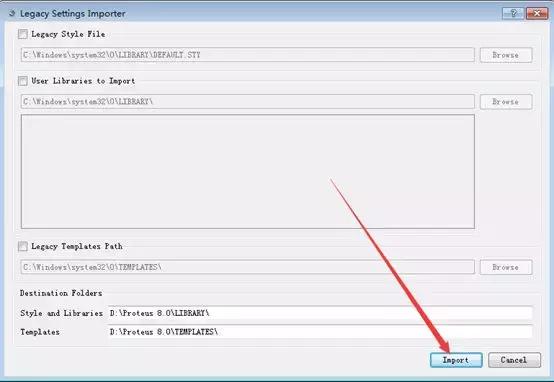
19、点击Import。
20、点击Yes。

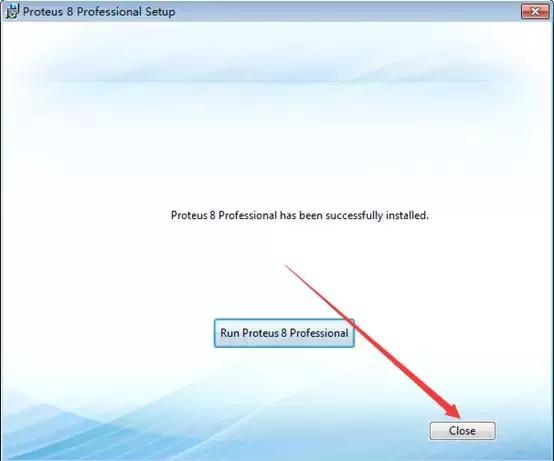
21、点击Close。
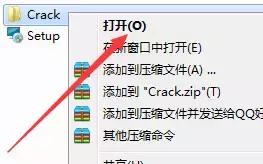
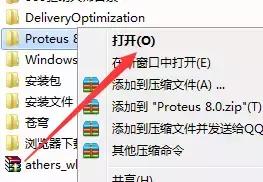
22、在解压文件夹中找到Crack文件夹,右击打开。
23、在D盘中找到Proteus 8.0文件夹,右击打开。
24、选中其中的BIN和MODELS文件夹,鼠标右击选择复制。

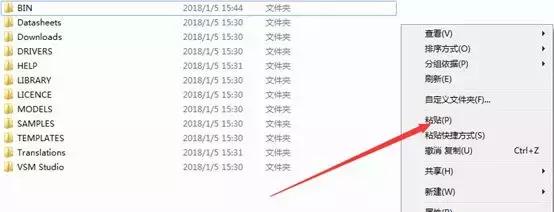
25、打开D盘中Proteus 8.0文件夹在空白处,鼠标右击选择粘贴。
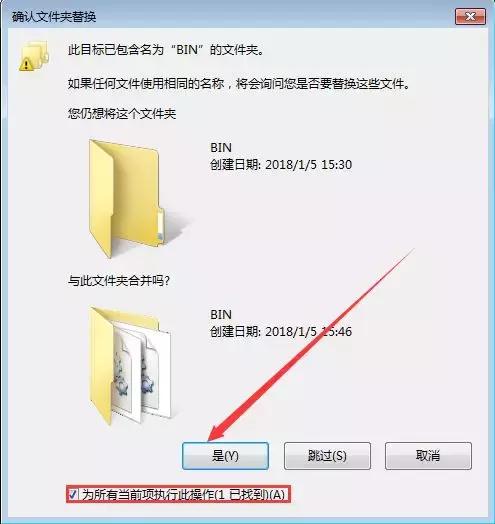
26、勾选为所有当前项执行此操作,然后点击是。
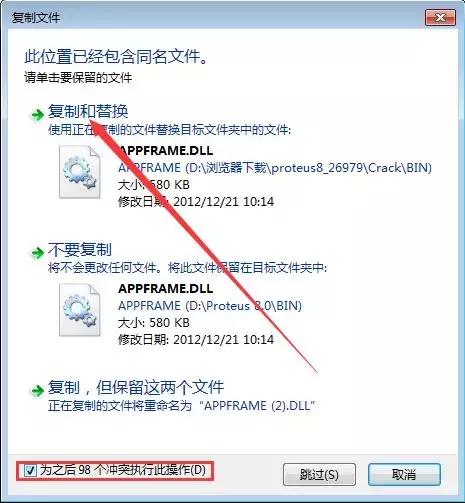
27、勾选为之后98个冲突执行此操作,然后点击复制和替换。
28、在桌面找到Proteus 8Professional,右击打开。
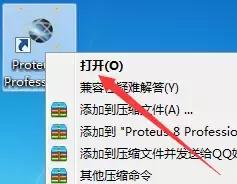
29、安装完成。
安装步骤:
1、右击软件压缩选择解压到“Proteus 8.0”。
2、在解压文件夹中找到Setup,右击打开。
3、点击Next。
4、勾选I accept theterms of this agreement,然后点击Next。
5、点击Next。
6、点击Next。
7、点击“BrowseFor Key File”。
8、在弹出的界面中找到解压包下的Crack目录下的LICENCE.lxk点击打开。
9、点击Install。
10、点击是。
11、点击Close。
12、全部勾选后点击Next。
13、点击Custom。
14、点击InstallationPath和Program Data Path下的Browse更改安装路径,建议安装到除C盘以外的磁盘,可在D盘或者其它盘新建一个Proteus 8.0文件夹。然后点击Next。
15、点击Next。
16、点击Next。
17、点击Install。
18、安装中(等待10分钟左右)。
19、点击Import。
20、点击Yes。
21、点击Close。
22、在解压文件夹中找到Crack文件夹,右击打开。
23、在D盘中找到Proteus 8.0文件夹,右击打开。
24、选中其中的BIN和MODELS文件夹,鼠标右击选择复制。
25、打开D盘中Proteus 8.0文件夹在空白处,鼠标右击选择粘贴。
26、勾选为所有当前项执行此操作,然后点击是。
27、勾选为之后98个冲突执行此操作,然后点击复制和替换。
28、在桌面找到Proteus 8Professional,右击打开。
29、安装完成。
下载地址
有问题?点击报错+投诉+提问