普通下载
普通下载
Android Studio是Google开发的一款面向Android开发者的IDE,支持Windows、Mac、Linux等操作系统,基于流行的Java语言集成开发环境IntelliJ搭建而成。该IDE在2013年5月的Google I/O开发者大会上首次露面,当时的测试版各种莫名其妙的Bug,但是14年12月8日发布的版本是稳定版。Android Studio 1.0推出后,Google官方将逐步放弃对原来主要的Eclipse ADT的支持,并为Eclipse用户提供了工程迁移的解决办法。不过相信作为Developer的你上手AS 以后你再也不愿意使用原来苦逼的Eclipse+ADT了,你会被AS的各种强大所吸引。
欢迎大家推荐自己在Android开发过程中用的好用的工具、学习开发教程、用到设计素材。如果你觉得本站对你有用,你可以点击底部的分享按钮,把本站分享到社交网络让你的小伙伴和更多的人知道。
【Android Studio的优势】
软件介绍:
Android Studio,是一项全新的基于IntelliJ IDEA的Android开发环境,类似于Eclipse ADT插件,Android Studio提供了集成的Android开发工具用于开发和调试。
安装步骤:
一.JDK的安装与环境变量配置。
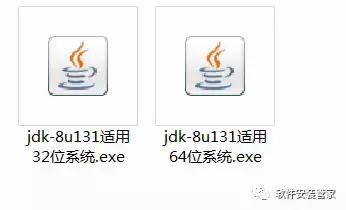
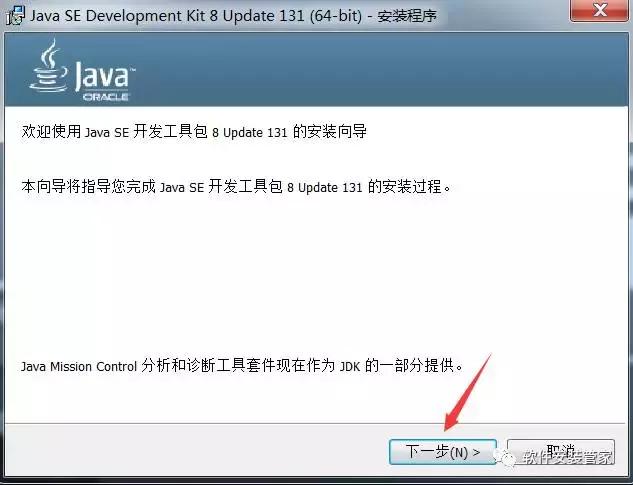
1.根据自己电脑系统类型选择安装JDK,测试电脑为64位系统,所以双击打击jdk-8u131适用64位系统.exe。
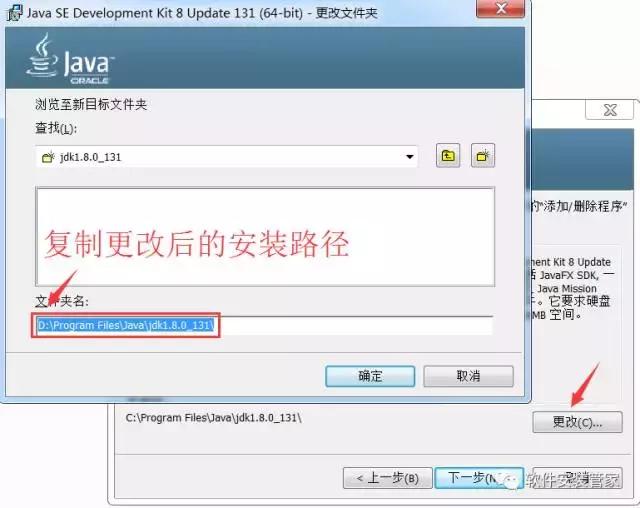
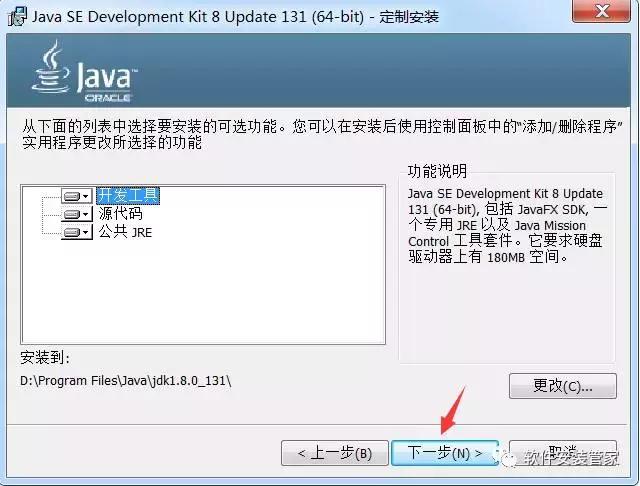
2.点击下一步。
3.点击更改可以自行选择安装路径,我这里安装到D盘,所以直接把字母C更改为D即可,然后复制更改后的安装路径(复制的时候用快捷键Ctrl+C),可以把复制后的安装路径保存到记事本里面,后面环境变量配置的时候需要。复制后的安装路径为D:Program FilesJavajdk1.8.0_131
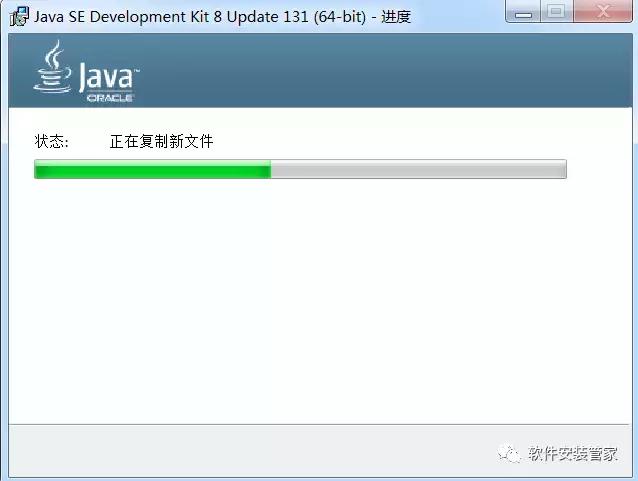
4.等待安装。
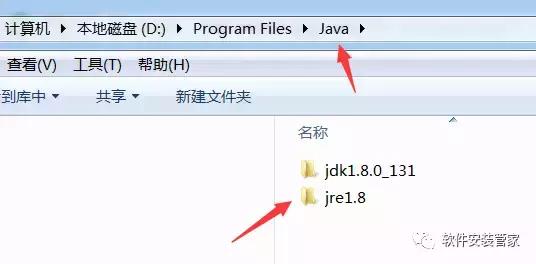
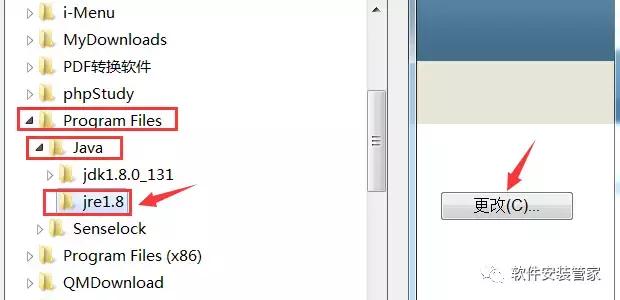
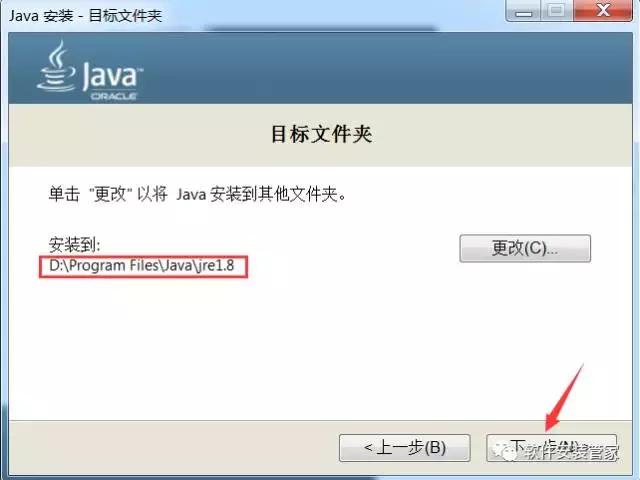
5.建议在D:Program FilesJava文件夹下新建一个文件夹jre1.8(因为我之前选择安装到D盘的),如果你之前安装到其它盘,你可在其它盘Program FilesJava文件夹下新建一个文件夹jre1.8。然后点击更改选择刚才新建的jre1.8文件夹,再点击下一步。
6.等待安装。

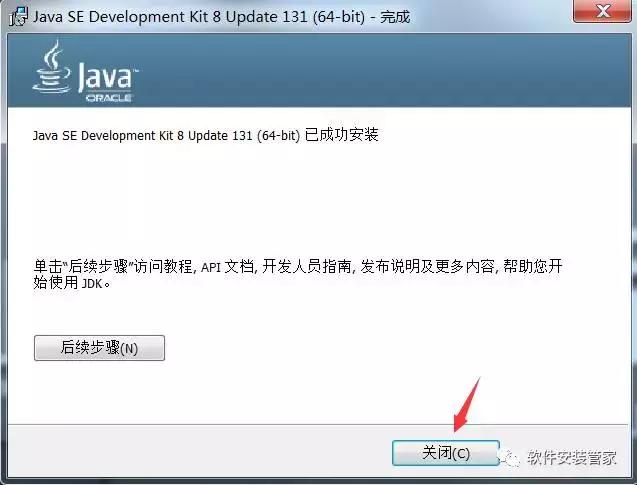
7.点击关闭。
8.安装完JDK后配置环境变量。右击“计算机”。点击“属性”。

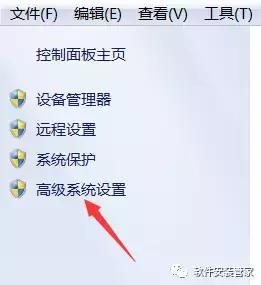
9.点击“高级系统设置”。

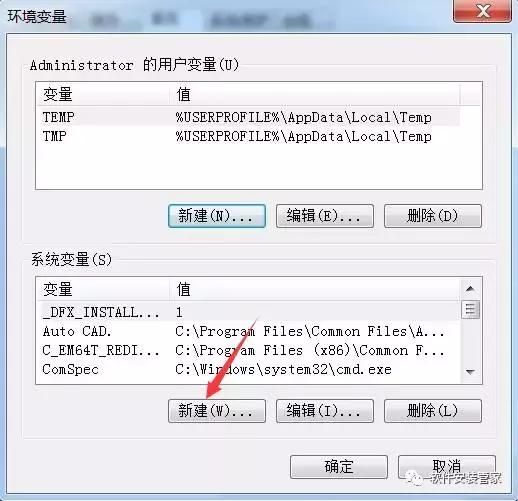
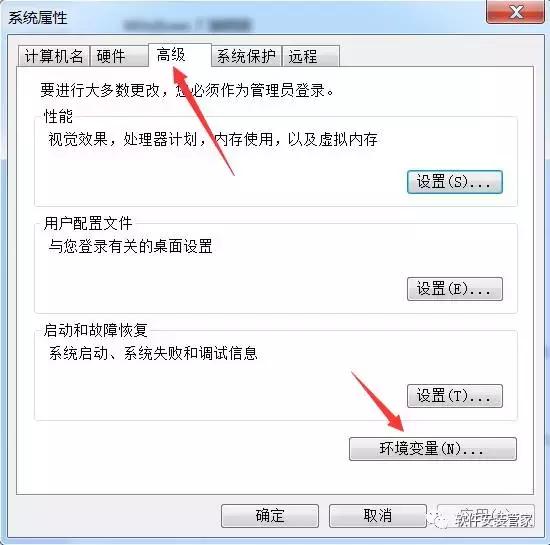
10.点击“高级”,再点击“环境变量”。

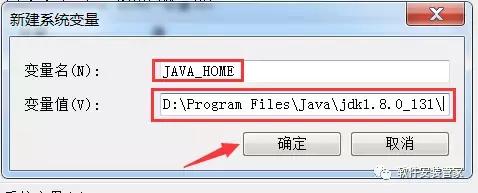
11.点击新建。变量名输入JAVA_HOME,变量值输入安装步骤第3步复制后的安装路径。D:Program FilesJavajdk1.8.0_131
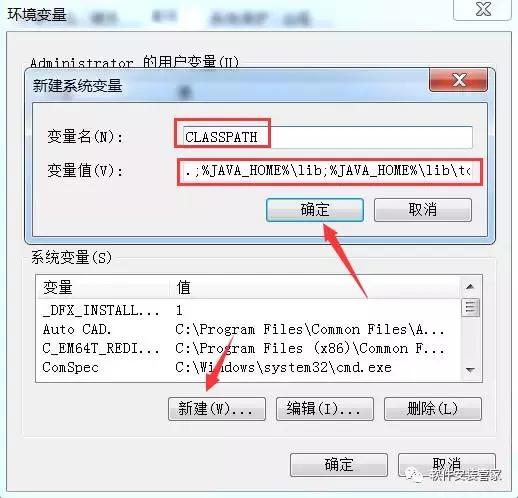
12.点击新建。变量名输入CLASSPATH
变量值输入.;%JAVA_HOME%libdt.jar;%JAVA_HOME%libtools.jar
13.在系统变量中找到Path,点击编辑。
变量值输入%JAVA_HOME%bin;%JAVA_HOME%jrebin;
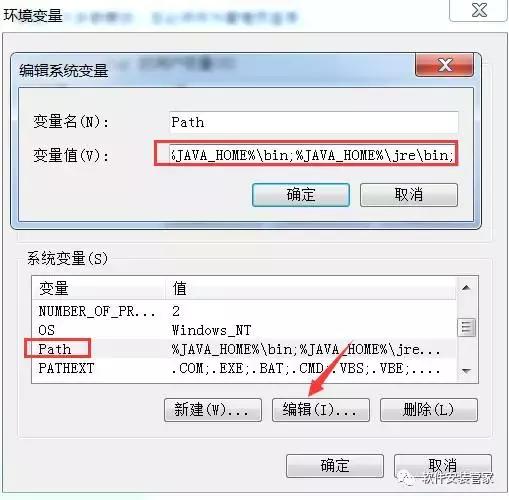
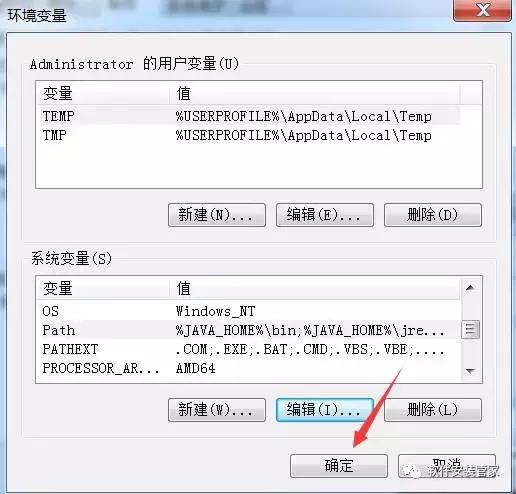
最后记得点击确定
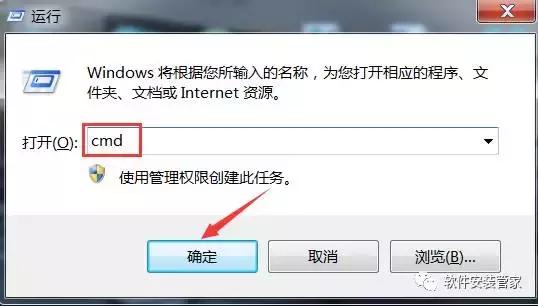
14.检查JDK是否安装成功。同时按键盘上的“WIN键+R键”。输入“cmd”。点击确定。

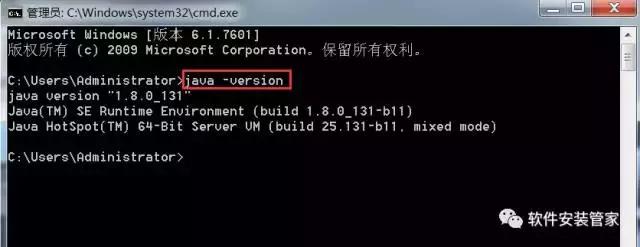
15.输入命令:java -version(java 和 -version 之间有空格),java,javac 这三个命令(都要试一下,只要有一个出现失败情况,就说明JDK环境配置失败)。都显示正常,说明配置成功!
输入java -version时,成功图示如下:
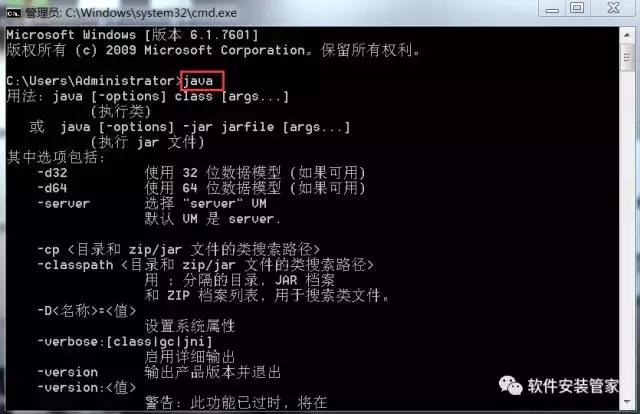
输入java时, 成功图示如下:
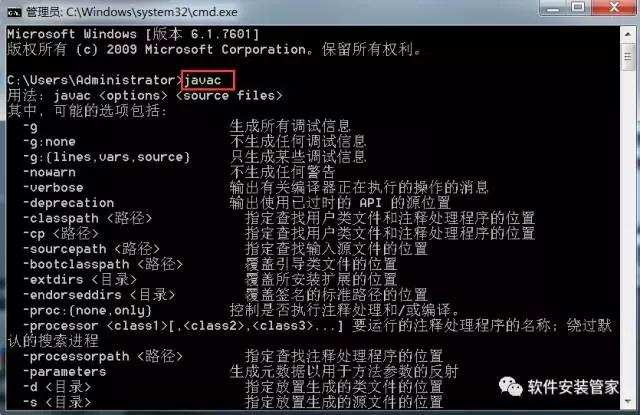
输入javac 时, 成功图示如下:
二:解压SDK文件。
把解压出来的sdk文件放在D盘或其它盘根目录,注意解压路径不要有中文,磁盘空间20G以上。
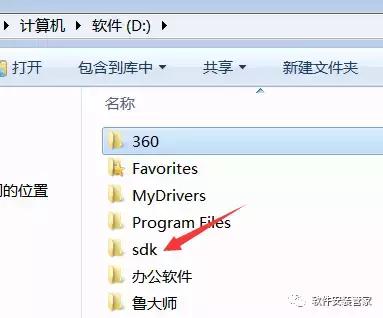
1.在D盘或其它盘新建一个文件夹sdk。
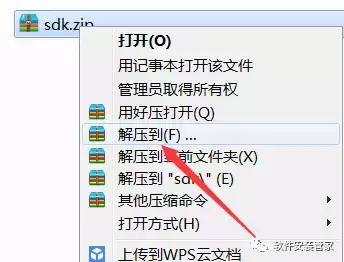
2.右击sdk文件,选择解压到(F)...
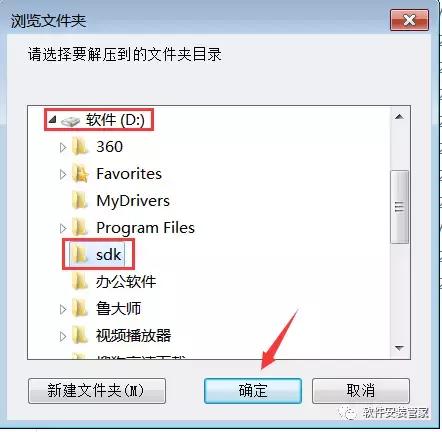
3.解压路径选择刚才新建的sdk文件夹,我这里选择D:sdk(复制此路径后面修改环境变量需要),等解压完成后再进行下一步操作。
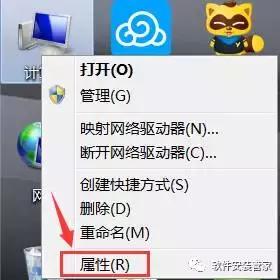
4.右击“计算机”。点击“属性”。
5.点击“高级系统设置”。
6.点击“高级”,再点击“环境变量”。
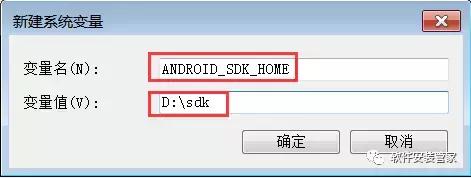
7.点击新建。变量名输入ANDROID_SDK_HOME,变量值输入第3步解压的安装路径。D:sdk


三:Android Studio的安装。
1.双击打开android studio安装包。

2.点击Next

3.Android SDK不要勾选,点击Next

4.点击I Agree

5.点击Browse选择之前在D盘或其它盘新建的sdk文件夹。

6.点击Browse更改Android Studio的安装位置,可在D盘或其它盘新建一个文件夹AndroidStudio。

7.点击Next

8.点击Install开始安装。

9.安装进行中,如有以下提示点击确定即可,安装完成后点击Next.


10.点击Finish

11.打开软件后,选择第二项,然后点击OK。

12.点击Next。

13.选择Custom后,点击Next.

14.点击Next.

15.点击Next.

16.点击Finish.

17.进度比较慢,稍微多等会。

18.点击Finish.

19.若右上角有此提示,点击关闭即可。

20.在开始菜单所有程序中找到Android Studio软件图标,然后鼠标右击发送到桌面快捷方式。

21.安装完成。

四,Android Studio的SDK环境配置
1.启动Android Studio软件后,点击列表中的configure。

2.点击Project Defaults

3.点击Project Structure

4.温馨提示:如果路径是已经设置好了的,就不需要重新设置。在Android sdk location的输入框中输入sdk的路径,就是之前解压sdk的路径D:sdk ,在JDK location的输入框中输入JDK的安装路径。D:Program FilesJavajdk1.8.0_131最后点击OK。

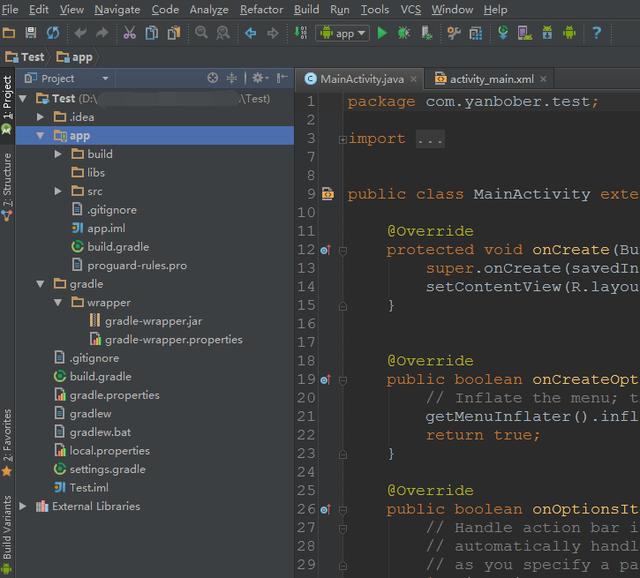
五,打开工程测试文件进行测试。
1.解压测试工程文件。

2.点击Open an existing Android Studio project.

3.选择解压后的测试文件Oandroid-test

4.点击close.

5.在菜单栏中点击Run,然后点击Run app

6.点击OK

7.可以看见程序开始运行。

8.安装完成。
欢迎大家推荐自己在Android开发过程中用的好用的工具、学习开发教程、用到设计素材。如果你觉得本站对你有用,你可以点击底部的分享按钮,把本站分享到社交网络让你的小伙伴和更多的人知道。
【Android Studio的优势】
- 基于Gradle的构建支持
- Android特定重构和快速修复
- 更加丰富的模板代码,让创建程序更简单
- 提示工具更好地对程序性能、可用性、版本兼容和其他问题进行控制捕捉
- 直接支持ProGuard和应用签名功能;
- 自带布局编辑器,可以让你拖放UI组件,并在多个屏幕配置上预览布局等;
- 内置Google云支持;
- 内置svn、git工具支持;
- 支持插件,eclipse有的,Android Studio里基本都能找到。
- 2.0之后,支持NDK了。
软件介绍:
Android Studio,是一项全新的基于IntelliJ IDEA的Android开发环境,类似于Eclipse ADT插件,Android Studio提供了集成的Android开发工具用于开发和调试。
安装步骤:
一.JDK的安装与环境变量配置。
1.根据自己电脑系统类型选择安装JDK,测试电脑为64位系统,所以双击打击jdk-8u131适用64位系统.exe。
2.点击下一步。
3.点击更改可以自行选择安装路径,我这里安装到D盘,所以直接把字母C更改为D即可,然后复制更改后的安装路径(复制的时候用快捷键Ctrl+C),可以把复制后的安装路径保存到记事本里面,后面环境变量配置的时候需要。复制后的安装路径为D:Program FilesJavajdk1.8.0_131
4.等待安装。
5.建议在D:Program FilesJava文件夹下新建一个文件夹jre1.8(因为我之前选择安装到D盘的),如果你之前安装到其它盘,你可在其它盘Program FilesJava文件夹下新建一个文件夹jre1.8。然后点击更改选择刚才新建的jre1.8文件夹,再点击下一步。
6.等待安装。
7.点击关闭。
8.安装完JDK后配置环境变量。右击“计算机”。点击“属性”。
9.点击“高级系统设置”。
10.点击“高级”,再点击“环境变量”。
11.点击新建。变量名输入JAVA_HOME,变量值输入安装步骤第3步复制后的安装路径。D:Program FilesJavajdk1.8.0_131
12.点击新建。变量名输入CLASSPATH
变量值输入.;%JAVA_HOME%libdt.jar;%JAVA_HOME%libtools.jar
13.在系统变量中找到Path,点击编辑。
变量值输入%JAVA_HOME%bin;%JAVA_HOME%jrebin;
最后记得点击确定
14.检查JDK是否安装成功。同时按键盘上的“WIN键+R键”。输入“cmd”。点击确定。
15.输入命令:java -version(java 和 -version 之间有空格),java,javac 这三个命令(都要试一下,只要有一个出现失败情况,就说明JDK环境配置失败)。都显示正常,说明配置成功!
输入java -version时,成功图示如下:
输入java时, 成功图示如下:
输入javac 时, 成功图示如下:
二:解压SDK文件。
把解压出来的sdk文件放在D盘或其它盘根目录,注意解压路径不要有中文,磁盘空间20G以上。
1.在D盘或其它盘新建一个文件夹sdk。
2.右击sdk文件,选择解压到(F)...
3.解压路径选择刚才新建的sdk文件夹,我这里选择D:sdk(复制此路径后面修改环境变量需要),等解压完成后再进行下一步操作。
4.右击“计算机”。点击“属性”。
5.点击“高级系统设置”。
6.点击“高级”,再点击“环境变量”。
7.点击新建。变量名输入ANDROID_SDK_HOME,变量值输入第3步解压的安装路径。D:sdk
三:Android Studio的安装。
1.双击打开android studio安装包。
2.点击Next
3.Android SDK不要勾选,点击Next
4.点击I Agree
5.点击Browse选择之前在D盘或其它盘新建的sdk文件夹。
6.点击Browse更改Android Studio的安装位置,可在D盘或其它盘新建一个文件夹AndroidStudio。
7.点击Next
8.点击Install开始安装。
9.安装进行中,如有以下提示点击确定即可,安装完成后点击Next.
10.点击Finish
11.打开软件后,选择第二项,然后点击OK。
12.点击Next。
13.选择Custom后,点击Next.
14.点击Next.
15.点击Next.
16.点击Finish.
17.进度比较慢,稍微多等会。
18.点击Finish.
19.若右上角有此提示,点击关闭即可。
20.在开始菜单所有程序中找到Android Studio软件图标,然后鼠标右击发送到桌面快捷方式。
21.安装完成。
四,Android Studio的SDK环境配置
1.启动Android Studio软件后,点击列表中的configure。
2.点击Project Defaults
3.点击Project Structure
4.温馨提示:如果路径是已经设置好了的,就不需要重新设置。在Android sdk location的输入框中输入sdk的路径,就是之前解压sdk的路径D:sdk ,在JDK location的输入框中输入JDK的安装路径。D:Program FilesJavajdk1.8.0_131最后点击OK。
五,打开工程测试文件进行测试。
1.解压测试工程文件。
2.点击Open an existing Android Studio project.
3.选择解压后的测试文件Oandroid-test
4.点击close.
5.在菜单栏中点击Run,然后点击Run app
6.点击OK
7.可以看见程序开始运行。
8.安装完成。