机械硬盘怎么拆开?机械硬盘拆少卸步骤,对于不少网友来说,对于这个拆开,还真的不知道怎么拆开的吧?好吧,那么麦田一棵葱就为大家普及一下这方面的知识!

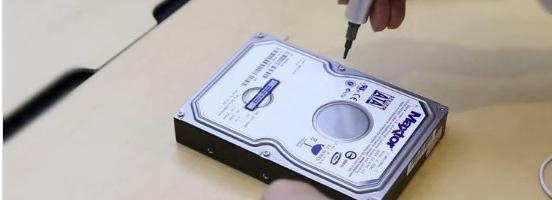
1、首先使用螺丝刀将机械硬盘上的固定螺丝拆卸下来,一共需要拆卸7颗螺丝,其中六颗比较明显,在各个边角和边角中间区域,如下图所示。
注意还是一颗固定螺丝隐藏在如下图所示的胶贴位置,正常的硬盘拆卸是会失去保修服务的,因此新硬盘或者可以正常使用的硬盘,请勿拆解。
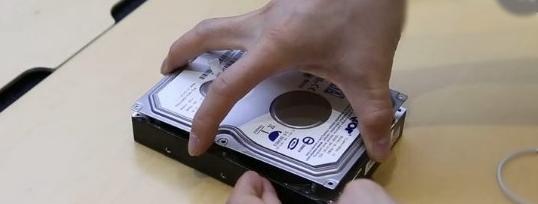
2、将机械硬盘表面的7颗固定螺丝拆卸下来之后,就可以轻松的打开硬盘金属保护盖了,如图所示。
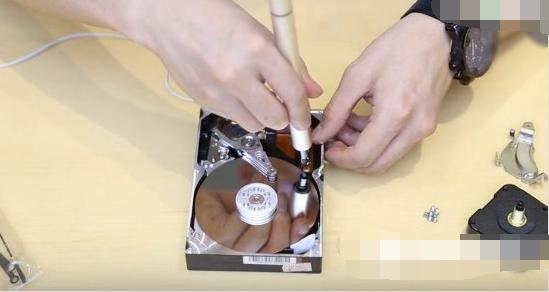
3、拆卸机械硬盘盖之后,接下用螺丝刀将磁盘下方的一小金属块撬开,如下图所示。

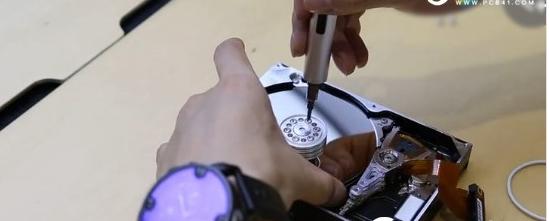
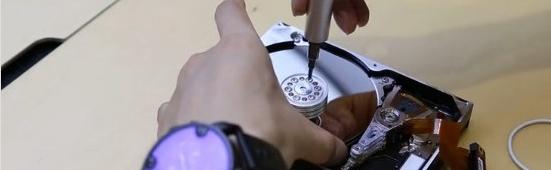
4、之后继续使用螺丝刀将机械硬盘内部的2颗盘轴固定螺丝拆卸下来,如下图所示。
5、之后在拆卸机械硬盘盘面中心区域的6颗固定螺丝,如下图所示。
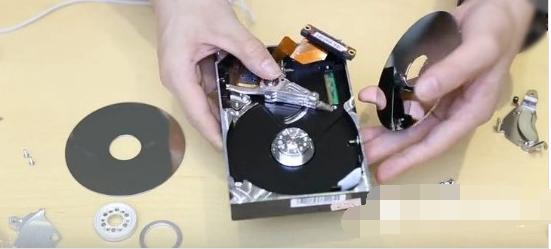
6、之后就可以将机械硬盘内部的第一步盘面拆卸下来,拆的时候,需要扶着点盘面,如图所示。
7、继续拆卸内部的固定螺丝,还可以将内部的第2个盘面拆卸下来。
8、最后剩下的就是主板部分了,拆卸都比较简单,这里就不详细介绍了。
1、首先使用螺丝刀将机械硬盘上的固定螺丝拆卸下来,一共需要拆卸7颗螺丝,其中六颗比较明显,在各个边角和边角中间区域,如下图所示。
注意还是一颗固定螺丝隐藏在如下图所示的胶贴位置,正常的硬盘拆卸是会失去保修服务的,因此新硬盘或者可以正常使用的硬盘,请勿拆解。
2、将机械硬盘表面的7颗固定螺丝拆卸下来之后,就可以轻松的打开硬盘金属保护盖了,如图所示。
3、拆卸机械硬盘盖之后,接下用螺丝刀将磁盘下方的一小金属块撬开,如下图所示。
4、之后继续使用螺丝刀将机械硬盘内部的2颗盘轴固定螺丝拆卸下来,如下图所示。
5、之后在拆卸机械硬盘盘面中心区域的6颗固定螺丝,如下图所示。
6、之后就可以将机械硬盘内部的第一步盘面拆卸下来,拆的时候,需要扶着点盘面,如图所示。
7、继续拆卸内部的固定螺丝,还可以将内部的第2个盘面拆卸下来。
8、最后剩下的就是主板部分了,拆卸都比较简单,这里就不详细介绍了。